Help your horse to be his fittest, strongest self with these simple muscle building exercises from ACPAT Chartered Physiotherapist Bridget Bazell
For our domesticated horses, daily life can involve all sorts of activity – hacking, jumping, dressage and more, not to mention the fact that they’ll be carrying us on their backs in the process! This means your horse
not only needs to be fit for his job, he also needs muscle strength in all the right places. As our expert Bridget Bazell explains, building muscle can be done with ease and she has some simple exercises for you to try, but first she recommends giving a few key principles some thought:
Ensure he’s pain-free
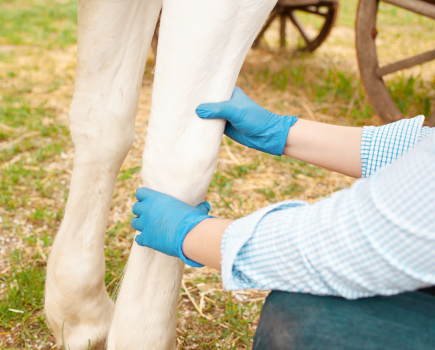
First and foremost, if your horse is in any discomfort or pain you’re not going to succeed in building muscle. “Pain sends muscles into a protective mechanism in order to try to prevent further damage, which means those muscles simply won’t work properly,” says Bridget.
“If you’re concerned your horse might be in pain, it’s hugely important to seek professional advice before starting any strengthening programme.”
Work little and often
Once pain has been ruled out, all strengthening programmes must start with getting the muscles to recruit correctly. “This means exercises should be done little and often,” says Bridget. “Once your horse’s muscles are contracting efficiently and correctly you can increase the loads and demand on the area in order to build strength, and then reduce the frequency of the exercises.”
Ridden or in-hand?
With any muscle building programme Bridget stresses that rider interaction is important. “Any exercises need to be achievable for both you and your horse if they’re going to be successful,” she says. “If they’re not achievable, and they’re done incorrectly, you won’t get anywhere and it can reinforce bad muscular patterns.”
All of Bridget’s exercises over the page can be ridden at varying levels of difficulty so, if you’re not sure how well you’ll be able to ride one of them, start with the easiest and work your way up. Or, to err on the side of caution, Bridget suggests considering whether in-hand strengthening work might be better for your horse than ridden work. “Often in-hand work is the best place to start because it removes the rider interaction altogether,” she says.
Take a holistic approach
It’s important to ensure that all of your horse’s routine checks are up to date. “Before you start a strengthening programme you need to be confident your horse’s tack fits him correctly, that his diet is right for his workload and his shoeing is up to date,” says Bridget.
Strengthen his hindquarters
When it comes to strengthening your horse’s hindquarters the key is to get his hind limbs to track up under his body. “A big muscle in the hindquarters, called the biceps femoris, works more when the hind limb is underneath the horse to propel him forwards,” says Bridget. “Once the leg gets to a point where it’s underneath the pelvis and further back, the other hamstrings are used more.”
Trot poles on a curve
This exercise involves riding through a set of curved poles, then straight through a channel of poles before riding out through another set of curved poles with the opposite bend to the first. The poles on a curve encourage the horse’s hind limbs to track up under his tummy and, once his tummy muscles and hindquarters are engaged, the change of bend helps to challenge his mid-section. As you ride this exercise you’ll want your horse to work with a relaxed head carriage, with his hind legs swinging through underneath him.
Set it up
Position two poles (to form a channel) on the centre line over X. Before the channel, position three trot poles on a curve and, after the channel, position a further three poles on an opposite bend. The poles should be roughly between 1.2m (4ft) and 1.7m (5½ft) apart at their middle point depending on your horse’s stride. The curve of poles can be reduced to a single angled pole or a single straight pole to reduce the difficulty.
There are a number of ways to ride this exercise:
Level 1:
On the right rein ride over a single, angled pole, straight through the channel, then take the left rein to go over the second single angled pole.
Level 2 and 3:
On the right rein ride over the first curve of poles, straight through the channel, then take the left rein to go over the second set of poles.
For level 3, repeat level 2
but this time halt between the channel of poles, rein back two to three steps then continue. The rein back will help to encourage your horse’s abdominals to activate and also his hindquarters.
Don’t miss the latest issue of Your Horse Magazine, jam-packed with training and veterinary advice, horse-care tips and the latest equestrian products available on shop shelves, on sale now. Find out what’s in the latest issue here